Hello fellows, in this article I will be writing about Azure Virtual Machines, what is a virtual machine (VM for short), how to deploy one within seconds, and set up a default page. 🐱💻
What is a Virtual Machine?
In computing, a virtual machine (VM) is the virtualization/emulation of a computer system. Virtual machines are based on computer architectures and provide functionality of a physical computer. Their implementations may involve specialized hardware, software, or a combination.
en.wikipedia.org/wiki/Virtual_machine
Basically, when you deploy a VM, either in your local computer or on the cloud, this resource would use software instead of a physical computer to run programs and deploy other apps. Therefore, we can run one or more virtual machines (guest) on a physical computer (host). This allows us to leverage the virtual machines in different situations such as server virtualization, developing software for other platforms, running old or incompatible software, and more.
So, what is Azure Virtual Machine?
 pinterest.com/pin/328903579036143404
A service that Azure offers to deploy VM's to the cloud, giving us the flexibility that virtualization offers without having to buy and maintain the physical hardware this would imply for. However, even if we would be paying for this service we are still concerned about different tasks such as configuring, patching and installing the software that runs on it.
Now that we know what is a VM and that we can take advantage of this service from Azure, let's create one.
But, we should know that... 👀
To follow the next steps we need to have an Azure account and an Azure subscription.
Create a Virtual Machine
First, let's open the Azure CLI and run the next command to create the resource group that will hold the VM:
az group create \
  --name rg-blog-student-001 \
  --location eastus
Now we will run the command to create our VM. This will take a few minutes to complete, so in the meantime, we would drink our cup of coffee 🐱👓:
az vm create \
  --resource-group rg-blog-student-001 \
  --name vmblog001 \
  --image UbuntuLTS \
  --admin-username azureuser \
  --generate-ssh-keys
When it's over we will receive a response with our new VM metadata like the following:
{
  "fqdns": "",
  "id": "/subscriptions/{my-subscription-id}/resourceGroups/rg-blog-student-001/providers/Microsoft.Compute/virtualMachines/vmblog001",
  "location": "eastus",
  "macAddress": "00-0D-3A-1E-1B-3B",
  "powerState": "VM running",
  "privateIpAddress": "10.0.0.5",
  "publicIpAddress": "104.211.9.245",
  "resourceGroup": "rg-blog-student-001",
  "zones": ""
}
Now our virtual machine is up and running 🎉. But we will keep moving forward to test our VM and set up our blog.
Open port 80 for web traffic
Let's run the next command to open port 80 to be able to access our blog site later.
az vm open-port --port 80 --resource-group rg-blog-student-001 --name vmblog001
Let's connect to the VM
Let's save our IP address in a Bash variable to make it handier for us with this command:
ipaddress=$(az vm show \
  --name vmblog001 \
  --resource-group rg-blog-student-001 \
  --show-details \
  --query [publicIps] \
  --output tsv)
We could run the next command to see what we saved in our ipaddress variable
echo $ipaddress
Then let's connect to our VM 🐱🚀
ssh azureuser@$ipaddress
When prompted, we will answer "yes" to save the VM's identity locally so future connections are trusted.
Update packages
Let's ensure package lists and installed packages are up to date.
sudo apt-get update
sudo apt-get upgrade -y
Install Nginx
sudo apt-get install nginx -y
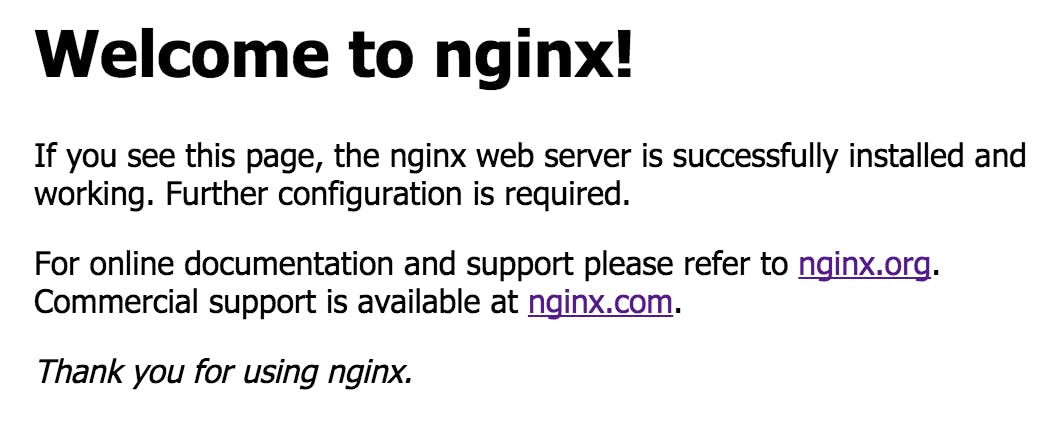
And now let's check our new default page searching by the IP address of the VM in the browser, and if all went right we will see something like this:

Conclusion
This was just the tip of the iceberg of all the use cases that virtual machines could have in real projects. I would encourage you to keep playing around with the VM, deploying your app, or hardening the server, and always remembering to clean up your resources when you are finished.
Thanks for reading this article. I hope it was helpful for Azure beginners or a gentle reminder for more veterans. Please feel free to ask questions in the comments below. Ultimately, practicing and building projects with this service will help you to get to know it better.
Now let's start working on the next project 👨🏼💻. Stay tuned!
